Disclaimer: This post contains affiliate links which means YBC® will earn a small commission if you happen to make a purchase. Thanks for the support.
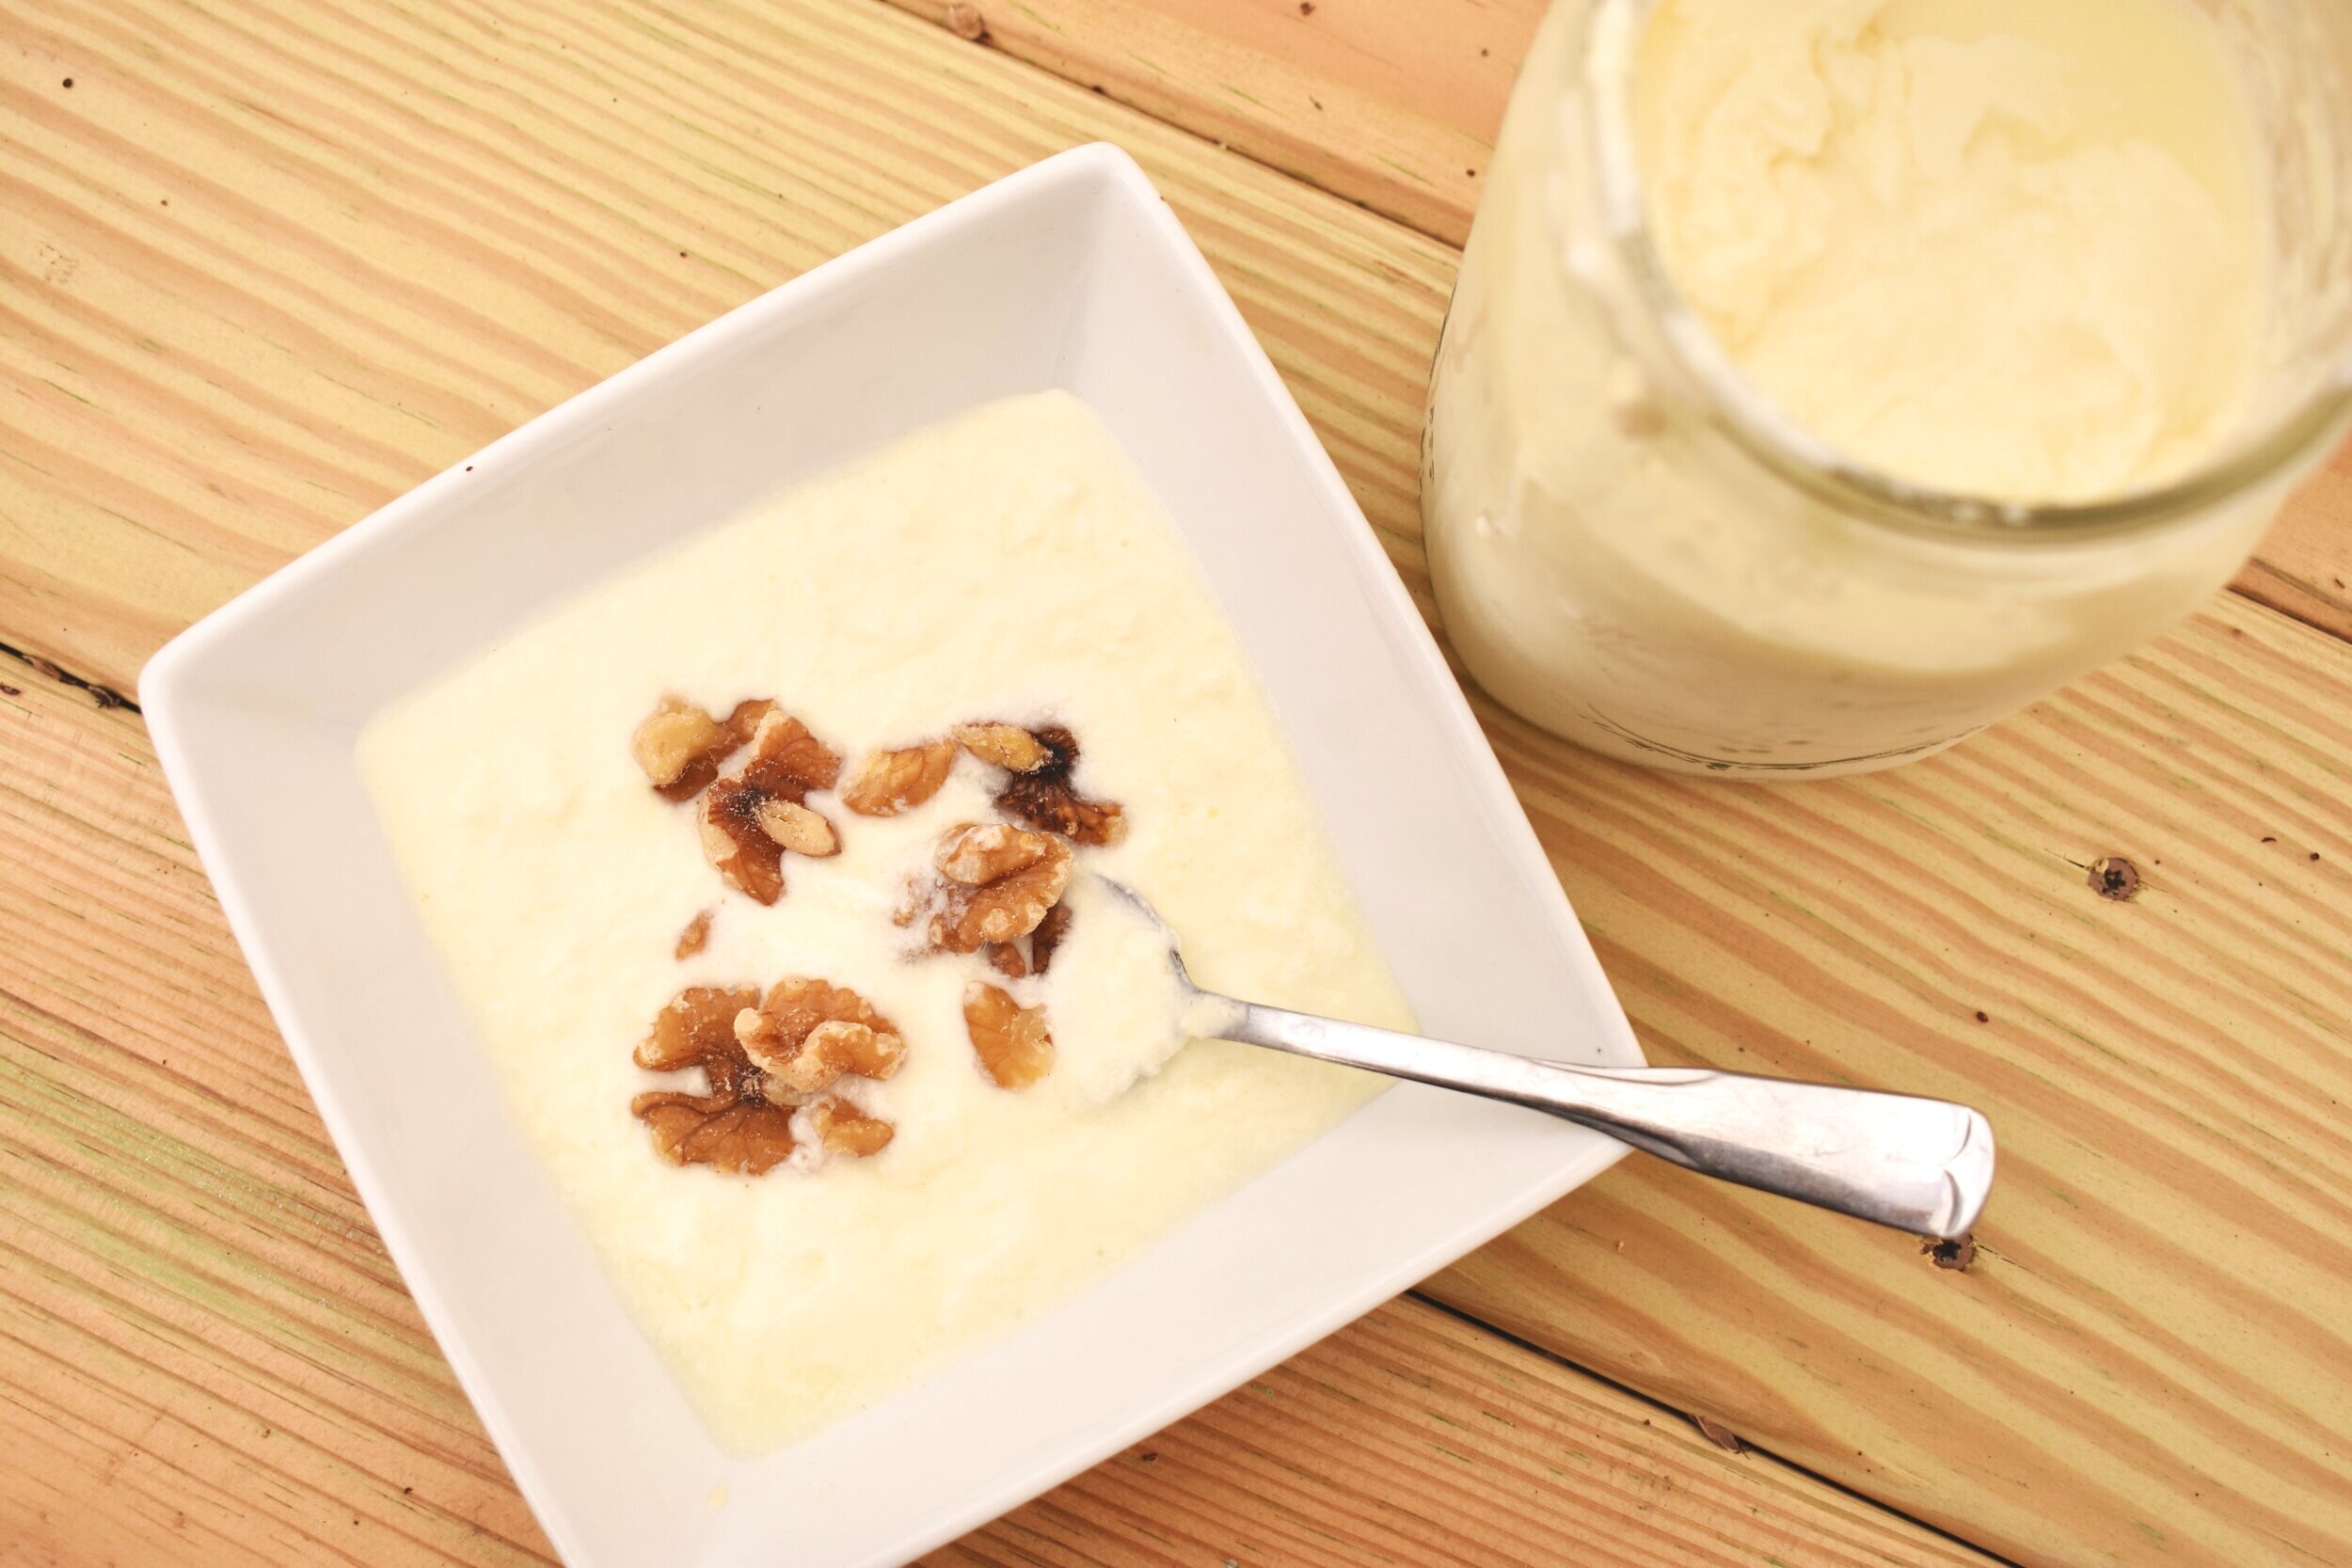
Hey everyone! Ashley came to visit last week for our Namaslay® YTT Refresher and Business and Marketing workshops, and while she was in town, she made homemade yogurt! We’re both on the parasite cleanse, so finding a variety of foods that are protocol friendly and don’t bore us to tears is a challenge. This yogurt turned out really well though, and with some pomegranate seeds, it was the perfect snack. Give it a try, and if you have any questions on the process, drop them in the comments! xo - Candace
After meeting Candace and learning about gut healing through the GAPS diet, I started thinking more about how I can incorporate probiotics into my diet. I’ve never been a huge yogurt fan because all things creamy tend to give me the willies, but when my boyfriend gave me a jar of his homemade yogurt made with raw milk from local cows, I changed my tune. It’s creamy, yes, but not as thick as Greek yogurt or what you might buy at the store. It’s tangy and light, and I’m obsessed with putting pomegranate seeds, blueberries, and/or pumpkin seeds in my bowl each morning. Because it’s a great source of quality fat and protein, having this for breakfast leaves me satiated and clear, ready to start the day. And - let’s be real - it helps me go to the bathroom, and you can’t put a price on a good poo.
Here’s how you can make your own at home. You’ll need:
a large pot or dutch oven - Something non-stick is best, but I’m wary of the metals in non-stick coating, so I use this one or this one. Be sure it’s clean, so you don’t contaminate your culture.
a gallon of milk - Full fat tastes best. I’ve tried cow and goat’s milk, and both were delicious - so up to you.
mason jars - 4 quart size for each gallon of milk - Again, be sure they’re clean, so you don’t contaminate your batch.
yogurt starter - You can buy a starter culture online, or if you have some leftover yogurt from a quality store brand you like, that will work too. You’ll need about 2 tablespoons of starter per quart of yogurt, so 8 tablespoons for a gallon.
blankets
Here’s the process:
Heat the milk
Pour the milk into your pot. If you do a whole gallon, you may not be able to fit it all in one batch, so if your pot isn’t big enough, I’d go half and half. Heat it on medium heat for the first few minutes, then turn the heat up to medium high. Occasionally stirring helps keep the milk from burning and sticking to the bottom of your pan, which can leave your yogurt with an off-taste. Don’t let it boil, so keep an eye on it. Use your thermometer, and once it reaches 180 - 190 degrees Fahrenheit, remove it from the heat.
Let it cool
It will take a few minutes to cool, and an occasional stir here doesn’t hurt, either. Once it reaches about 120 degree Fahrenheit, you’re ready for step 3.
Pour into mason jars
Now you’re ready to start the fermentation process. Pour the milk into your quart size jars, and add 2 tablespoons of starter to each jar. Put the lids on.
Keep them warm
The fermentation process stops at around 110 degrees, so you’ll want to keep the jars pretty warm. I wrap mine in warm blankets, and put them on top of the fridge, on a heating pad, in an insulated bag, or near a radiator. Let them ferment for 12-24 hours. In my opinion, the longer ferments are better, but you can experiment until you find your perfect formula.
Enjoy!
Once your time is up, pop those bad boys in the fridge to cool, and you’re ready to eat!
Give it a try, and let me know what you think! It’s much easier than I ever expected making my own yogurt to be. It’s cost effective, and now I’m spoiled to the good stuff - no store bought brand compares. I hope you like it!


